Table of Contents
ToggleIntroduction to WordPress Multisite
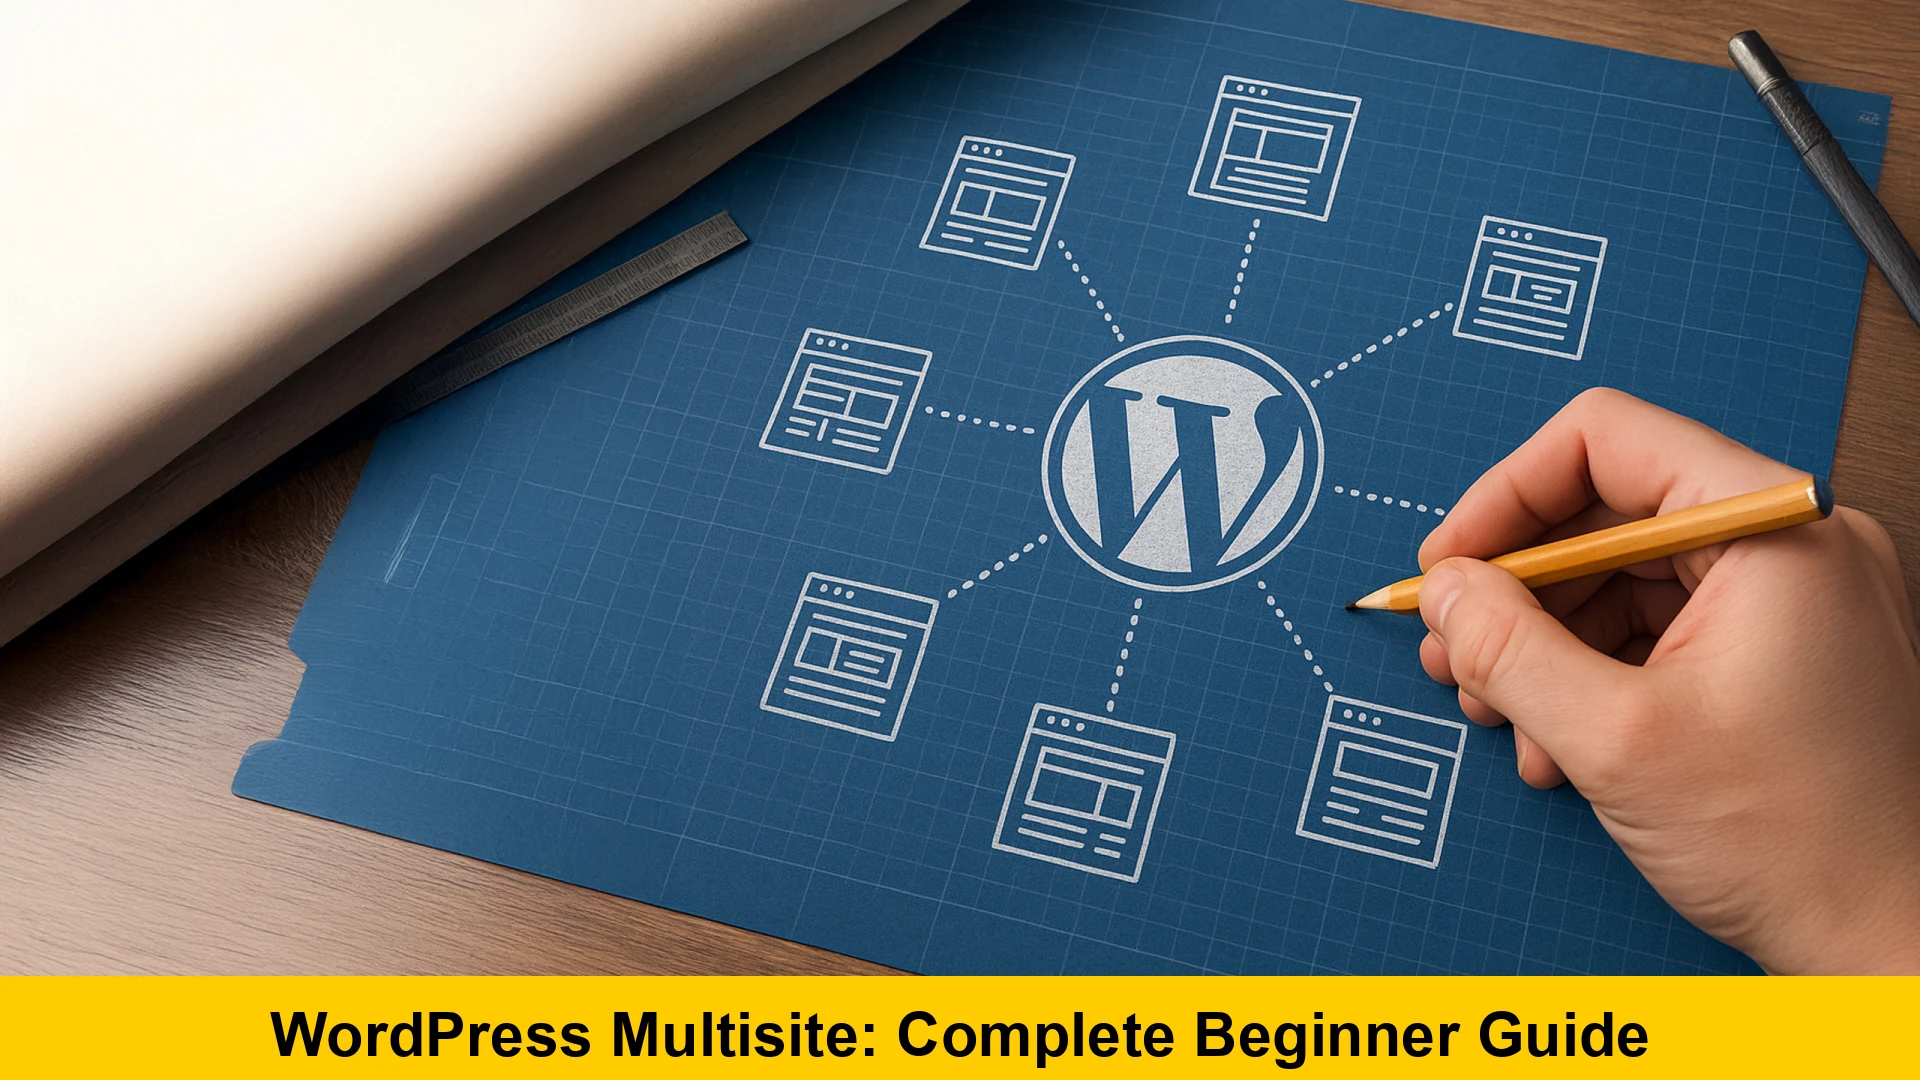
Have you ever found yourself juggling multiple WordPress installations, logging in and out of different dashboards, and manually updating plugins on five different sites? If so, you are likely the perfect candidate for a WordPress Multisite network. In this WordPress multisite tutorial, we will explore everything you need to know about this powerful feature. WordPress Multisite is a built-in feature that allows you to create and manage a network of multiple websites from a single WordPress dashboard. This means you can run an entire ecosystem of sites—ranging from two to thousands—under one installation.
Whether you are a web developer managing client sites, a university overseeing department blogs, or a business owner with multiple regional outlets, learning how to set up wordpress multisite network can save you hours of administrative work. By the end of this wordpress multisite network guide, you will have a comprehensive understanding of the architecture, the setup process, and the best practices for maintaining a healthy network.
WordPress Multisite vs Single Site: Key Differences
Before diving into the technical setup, it is crucial to understand wordpress multisite vs single site environments. On a standard single site, you have one database, one set of core files, and a dedicated dashboard. In a Multisite network, all sites share the same WordPress core files, the same server resources, and a single database (though data for each site is separated into different tables).
The primary advantage of managing multiple wordpress sites through Multisite is central administration. As the Super Admin, you can update plugins and themes across the entire network with a single click. However, this also means that if the main site goes down due to a server error, every site in the network goes down. This interdependence is a critical factor when weighing the pros and cons of using wordpress multisite.
Pros of WordPress Multisite
- Centralized updates for themes and plugins.
- Efficient user management across multiple sites.
- Shared hosting resources, which can reduce costs.
- Easy creation of new sites for users or clients.
Cons of WordPress Multisite
- A single point of failure: if the network is hacked or breaks, all sites are affected.
- Some plugins are not compatible with Multisite.
- Individual site owners have limited control over installing their own plugins or themes.
- Traffic surges on one site can impact the performance of others.
Step by Step WordPress Multisite Setup for Beginners
Ready to get started? This step by step wordpress multisite setup for beginners will walk you through the process of activating the hidden network feature within your WordPress installation. Note that it is always recommended to perform a full backup of your site before making these changes.
Step 1: Preparation and Hosting Requirements
To successfully run a network, you need a hosting environment that can handle the load. While shared hosting might work for a few low-traffic sites, a VPS or Dedicated Server is recommended for larger networks. Additionally, you must decide whether you want to use subdomains (site1.example.com) or subdirectories (example.com/site1). If you choose subdomains, you will need to configure wildcard subdomains in your hosting control panel.
Step 2: Enable Multisite in wp-config.php
By default, Multisite is disabled. To enable it, you need to access your site files via FTP or a File Manager. Locate the wp-config.php file and add the following line of code just before the line that says / That’s all, stop editing! Happy publishing. /:
/ Multisite /
define( 'WP_ALLOW_MULTISITE', true );
Once you save and re-upload this file, log back into your WordPress admin area. You will now see a new menu item under Tools > Network Setup.
Step 3: Network Installation
Go to Tools > Network Setup. Here, you will be asked to choose between subdomains and subdirectories. This choice is permanent for most users, so choose wisely. Give your network a name and ensure the admin email address is correct. Click the “Install” button to proceed.
WordPress will now provide you with two snippets of code. One needs to be added to your wp-config.php file, and the other to your .htaccess file. This is how you enable multisite on existing wordpress site configurations.
Step 4: Update Configuration Files
Open your wp-config.php again and paste the provided code above the “stop editing” line. It will look similar to this:
define( 'MULTISITE', true );
define( 'SUBDOMAIN_INSTALL', false );
define( 'DOMAIN_CURRENT_SITE', 'yourdomain.com' );
define( 'PATH_CURRENT_SITE', '/' );
define( 'SITE_ID_CURRENT_SITE', 1 );
define( 'BLOG_ID_CURRENT_SITE', 1 );
Next, replace the content of your .htaccess file with the rules provided by WordPress. This ensures that the server knows how to route requests to the different sites in your network. For more information on server configurations, you can visit WordPress.org Documentation.
How to Add New Sites to WordPress Multisite
Once you have finalized the installation, you will notice a new menu in your top admin bar called “My Sites.” Hovering over this reveals the “Network Admin” dashboard. This is the nerve center for your entire network.
To learn how to add new sites to wordpress multisite, navigate to Network Admin > Sites > Add New. You simply need to enter the site address (URL), the site title, and the admin email. WordPress will create the site instantly, and the new admin will receive an email with login instructions. This is the core functionality that makes managing multiple wordpress sites so efficient.
WordPress Multisite Subdomain vs Subdirectory Guide
One of the most common questions for beginners is the wordpress multisite subdomain vs subdirectory guide choice. Let’s break down the implications of each:
Subdirectories
In a subdirectory setup, your URLs look like example.com/site1. This is easiest to set up because it doesn’t require extra DNS configuration. It is ideal for internal networks or sites that are closely related to the parent brand.
Subdomains
In a subdomain setup, your URLs look like site1.example.com. This requires “Wildcard Subdomains” to be enabled on your host. This is the preferred choice for blogging platforms or sites that need to appear as independent entities. If you are curious about web standards and URL structures, W3C provides excellent resources on web architecture.
Best Plugins for WordPress Multisite Network Management
Not all plugins are created equal when it comes to networks. Some are designed specifically for the “Super Admin” to manage global settings. Here are some of the best plugins for wordpress multisite network management:
- WP Rocket: Excellent for caching across the whole network to improve performance.
- User Role Editor: Crucial for managing complex permissions across various sites.
- Multisite Enhancements: Provides the Super Admin with more information in the dashboard, like which site has which plugin active.
- UpdraftPlus: Ensure you use the version that supports multisite backups, as the database structure is different.
Common WordPress Multisite Errors and How to Fix Them
Even with a perfect setup, you may encounter common wordpress multisite errors and how to fix them. Here are the top issues beginners face:
1. Cookies Blocked Error
This often happens when you log in for the first time after enabling the network. It is usually caused by a conflict in the wp-config.php file. Adding define('COOKIE_DOMAIN', $_SERVER['HTTP_HOST']); can often resolve this issue.
2. Error Establishing Database Connection
Because Multisite uses a single database, any error in your credentials in wp-config.php will take down the whole network. Double-check your database name, user, and password.
3. CSS Not Loading on Sub-sites
This is frequently related to incorrect .htaccess rules. If your sub-sites look like plain text, ensure that the rewrite rules are correctly pasted and that your server has mod_rewrite enabled.
Advanced Management: Themes and Plugins
In a Multisite network, the process of installing software is slightly different. Only the Super Admin can install themes and plugins. Once installed, the Super Admin can choose to “Network Enable” a plugin, which activates it for every site in the network automatically. Alternatively, you can simply install it, and then individual site admins can choose to activate it from their own dashboards—but only if the Super Admin has enabled the “Plugins” menu for them.
Themes work similarly. You can “Network Enable” a theme to make it available in the “Appearance” menu of all sub-sites. This is perfect for maintaining brand consistency across managing multiple wordpress sites.
SEO Considerations for Multisite
From an SEO perspective, the choice between subdomains and subdirectories is significant. Search engines often treat subdomains as separate entities, which means they don’t automatically share the authority of the root domain. Subdirectories, however, are seen as part of the main site, which can help new sub-sites rank faster by leveraging the main domain’s power. Regardless of your choice, ensure you use a robust SEO plugin like Yoast SEO or Rank Math, both of which have specific settings for Multisite networks.
Conclusion
WordPress Multisite is an incredible tool that transforms a single website into a powerful network engine. By following this wordpress multisite tutorial, you have learned how to set up wordpress multisite network environments, understood the nuances of wordpress multisite vs single site management, and explored the pros and cons of using wordpress multisite. While it requires a bit more technical oversight, the efficiency gained in managing multiple wordpress sites is well worth the effort. For further learning on advanced WordPress techniques, you might explore the WordPress Developer Resources.
Remember to always test changes on a staging environment before applying them to your live network. With the right plugins, a solid hosting plan, and the knowledge from this wordpress multisite network guide, you are now ready to build your own digital empire.